
Feb
3
2016
3
2016
How to import a list of products from a CSV file.
 An article by Adam

You can add many products with few steps without having to enter every product manually to the system by using the importing function. You can import the “Name“, “Description“, “Unit Price” and “Default Quantity” fields.
To start importing a list of products follow these steps:
Notes:
- Only CSV files / Text files (Comma Separated, Tab Delimited, Column separated can be import).
- If you have any other file type you will need to open using an intermediate application, such as “Microsoft Excel” and save as CSV and import into the system.
- You can use the import function to quickly add your data in a spread-sheet and import into the system, here we explain how to import data using Microsoft Excel software.
- Open the Excel program.
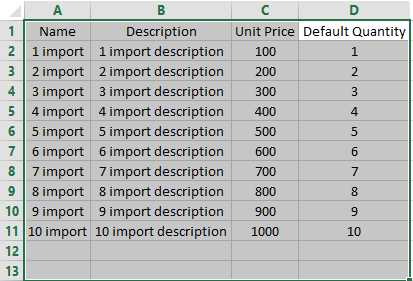
- In the first row add the fields “Name“, “Description“, “Unit Price” and “Default Quantity“.
- Under every cell fill in the all products details as in this image.
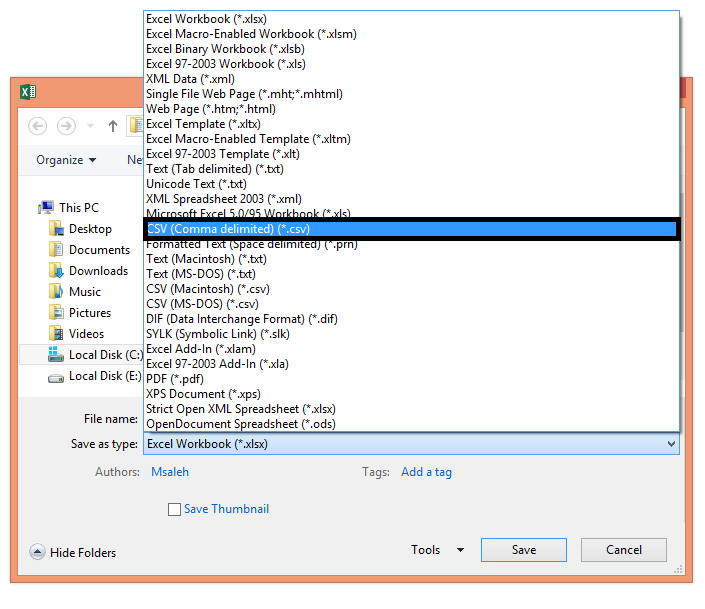
- After you have added all your items save the Excel file as CSV (Comma delimited).
- Login to your online invoices system.
- From the “Products” menu choose “Manage Products“.
- Click the “Import” button from in top right corner.

- The importing wizard will start Step 1 Import Options :
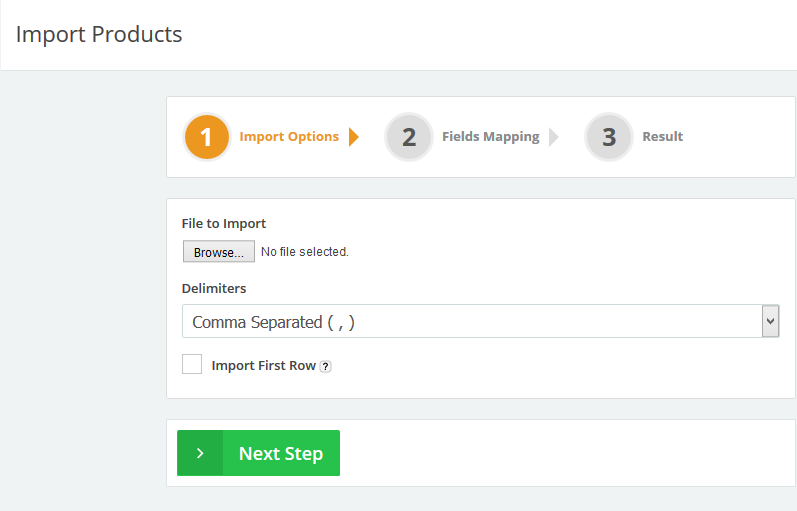
- Choose the file to import (the CSV file we previously saved).
- From the Delimiters section choose “Comma Separated”.
- Click the “Import First Row” check box. If your file contains field labels in the first row don’t tick this box. In our case we will not tick the box.
- Step 2 (Fields Mapping):
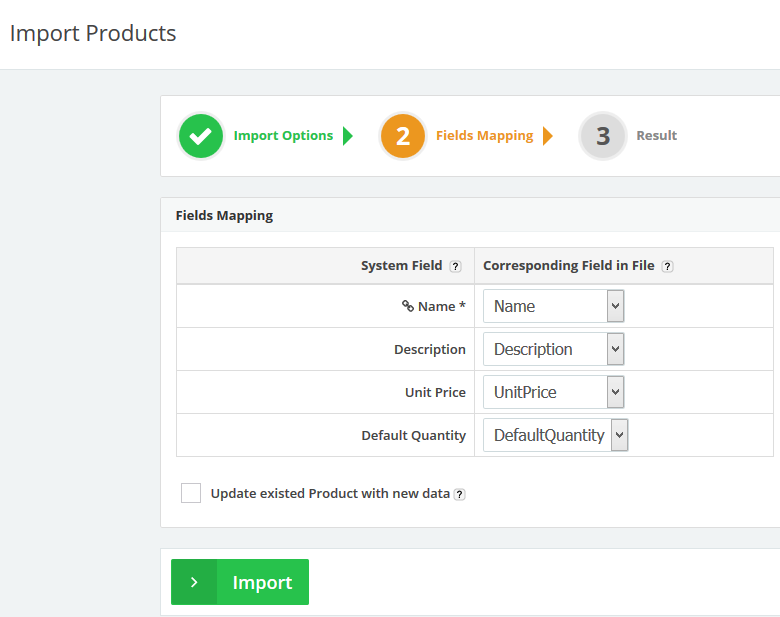
- In this step we will tell the system where the data is so the system can add it.
- The “System Field” column: This column shows what fields in the system you may import data into; “*” means that this field must be filled, and “Chain icon” means that this field is unique (i.e. if you have checked the “Updated existed product with new data” check box and there was a record that contains the same field value it will update this record with the new imported record. If you didn’t check the “Updated existed product with new data” check box and there was a record with the same data it will ignore importing it and give you errors for this record.).
- The “Corresponding Field in File” column: Each drop-down in this column shows all column headers in your file. Please select the equivalent column in your file for each system column (only system fields with “*” are required to have an equivalent selected field).
- In our case we only added new products and selected a corresponding field in file for each system field as seen in the above image, and we left the “Updated existed product with new data” check box unchecked as we are adding only new data.
- Click the “Import” button.
- Step 3 (Importing):
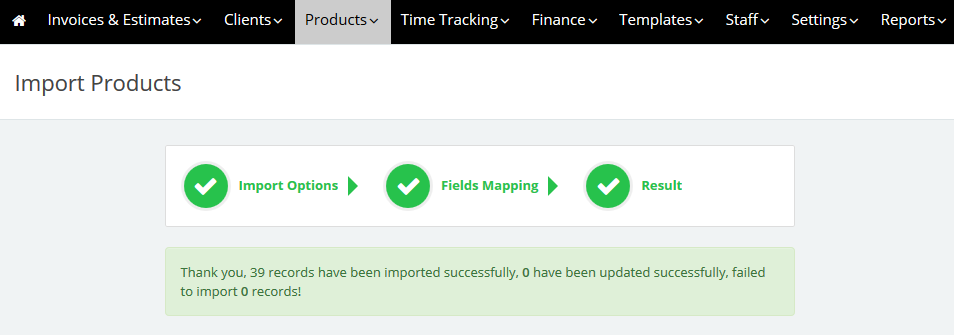
- The system will take a few seconds to import the fields and save them.
- Go back to the “Manage Products” page to check the imported items.
Contact us if you have an issue or more questions.
