
Nov
16
2015
16
2015
How to Invoice Your Client Using Authorize.net
 An article by Adam

The Online Invoices Billing and Accounting Software is fully compatible with Authorize.net so you could invoice your clients and receive payments online to your Authorize.net account. Authorize.net integration works with all of our Online Invoices software’s Invoice Templates.
Activate Authorize.net on payment your account
To accept online payments for your invoices, using Authorize.net follow these steps:
- Login to your Online Invoices account, or Register for a free account from this link.
- From the “Settings” menu choose “Payment Options.“
- Choose “Authorize.net“, mark as “Active“, and add your and .
- In your Authorize.net account, go to “Account” > “Settings“, and click on API Login ID and Transaction Key in the security settings sections.
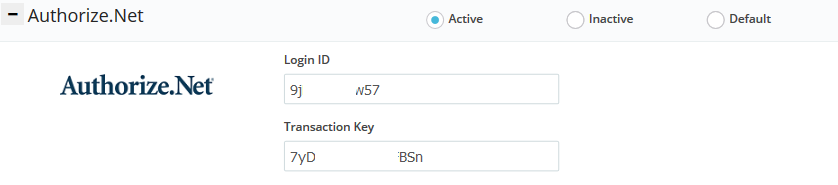
- In your Authorize.net account, go to “Account” > “Settings“, and click on API Login ID and Transaction Key in the security settings sections.
- Click the “Save” button to save changes.
After saving your Authorize.net settings you are now ready to create new invoices and receive your payments online via Authorize.net.
Creating Invoices in the online invoices system
To create new invoice follow these steps:
- From the “Invoices” menu choose “Create Invoice.“
- Check this tutorial “Creating your First Invoice” to know how to create a professional invoice from scratch.
- Send the invoice to your client and wait for them to pay as soon as possible.
How a Client Can Pay an Invoice Through Authorize.Net:
- After you receive the invoice, click the pay link and you will be directed to this page below:
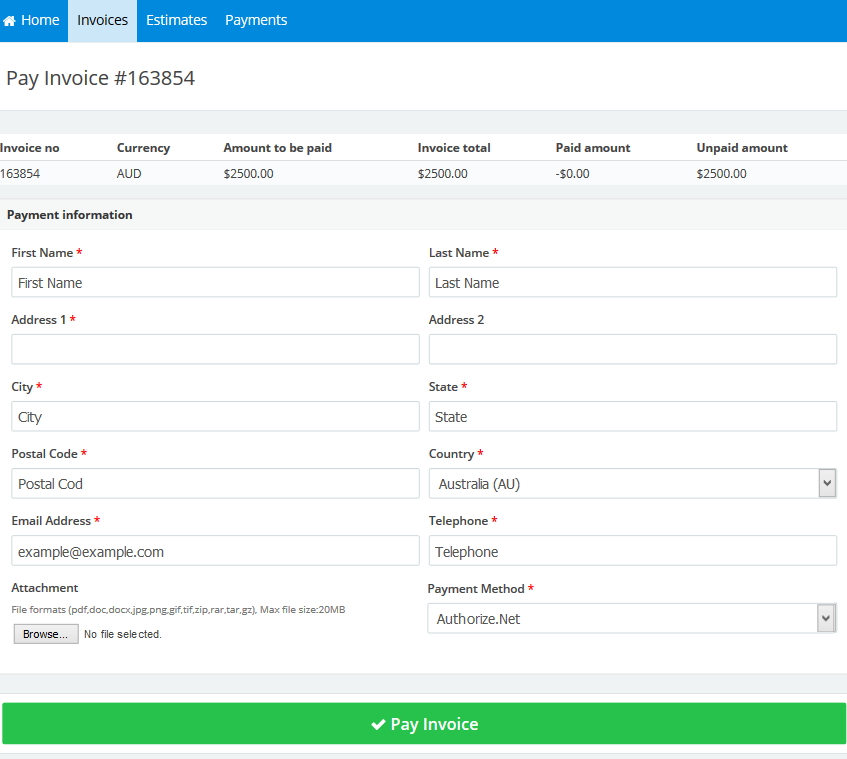
- You should fill in all the details, and from the “Payment Method” field choose “Authorize.net”, and then click the “Pay Invoice” button.
- You will be directed to the Authorize.net payment page like the picture below:
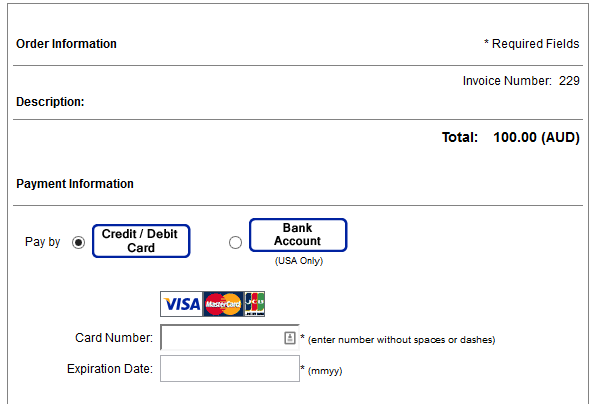
- Fill in your data and click the “Pay Now” button.
- Let the business owner know that you paid the invoice.
Contact us if you have an issue or questions.
